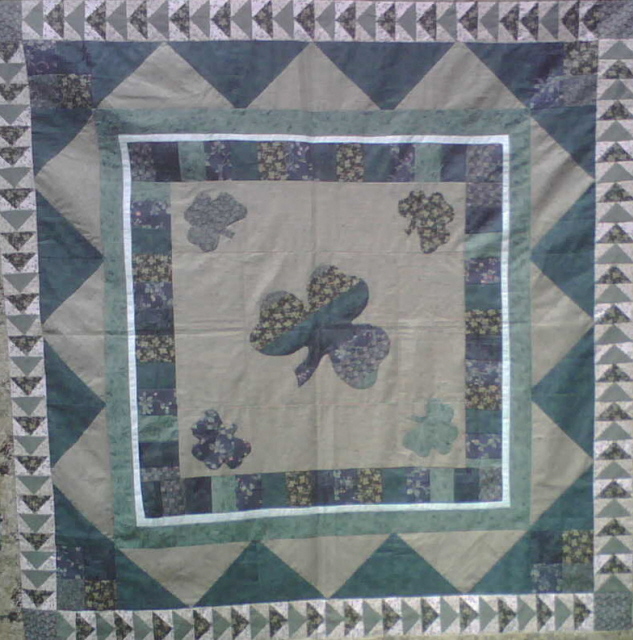
Firstly I must say that I really enjoy the variety of challenges that I come across in Round Robin (RR) groups. They are often ways to explore new techniques and colour schemes. When this one arrived the colours were right up my alley! One of my two favourite colours - green. All green, many shades of green.
I decided that it needed a bit of a plainer border as well as something decorative, so methinks....why not some Celtic Knots? They would look beautiful weaving in and around themselves as they are laced around the border. Endless, Magical.
 This is June. I have about 2 months to send this on. The quest for the right green begins, and goes on, and goes on. So many greens, never the right one. It is now September.
My friend Maria offered to bring me some greens that she had purchased a couple of years ago in a print that I really like (Northcott Aqua textures). I have happily used many of the colour variations in previous quilts. It was a perfect match - multiple shades of greens in the right tones for this RR project.
Now for the Celtic Knots. Have I ever done Celtic Knots? No but this minor detail has not slowed me down in the past. I have done stained glass using bias, I have done vines and I have made bias. Do I need to know more?? [yes]
So I look on-line for tips to applique Celtic Knots. Only books for sale. I look through my books. Only designs to follow.

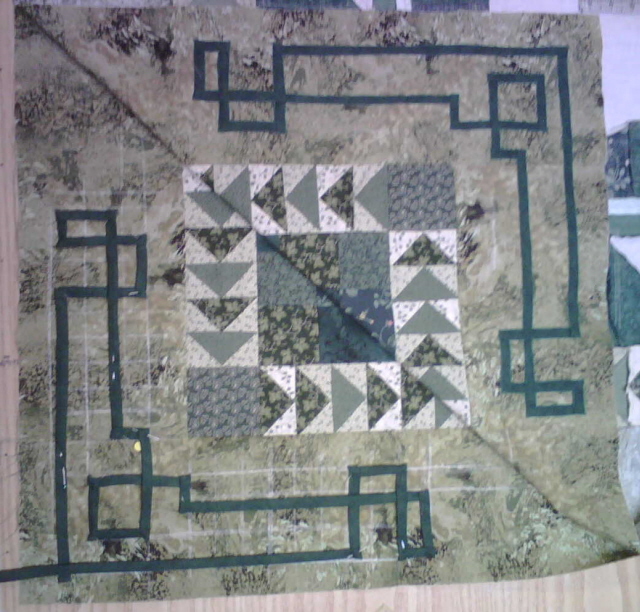
I may as well try to figure it out myself. Okay, clue # 1 is that gentle curves are not happening in my 6-inch wide border so we are going with the geometric grid. The curves look a lot more smooth and simple when they are laced in and under themselves in a 15" block.
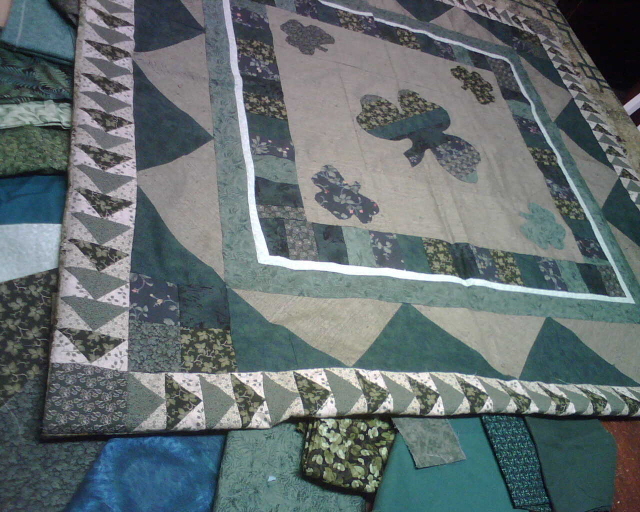
It is late October. I decide to skip the full border applique and work out some corner pieces.
So I mark out a grid and lay the bias out. Hmmm. Okay , I learn that I need to switch-up my technique for sewing the bias on. I intended to sew the bias with a small seam allowance, then fold over that stitching line and blind stitch the second side so that no stitching will show. Sounded like a good plan at the time. It worked great for the Stained Glass Quilted Wall Hangings I have made. Not so great for all these right angle turns. Not enough bias tape to do 2 turns around the quilt and some focal-point knots.
So, now to dig out the set of pressing bars I know I have picked up along the way sometime in the far distant past but have not used for-oh-so-long. I press all 7 1/2 yards of bias flat with the seam opened on the underside. I will re-lay the knot and sew along both sides....machine applique now.
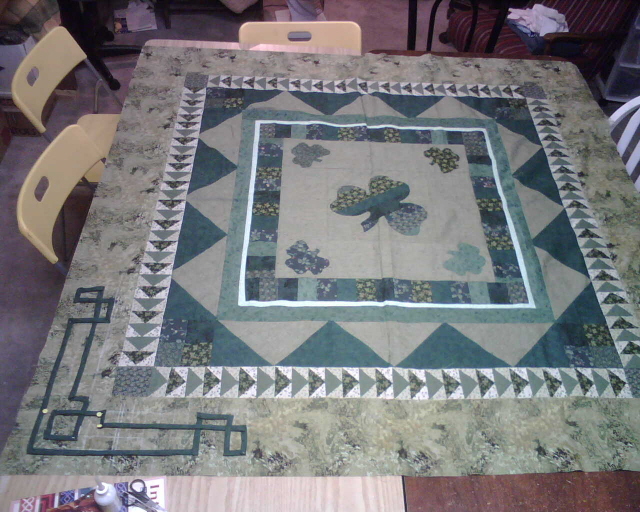
Okay, draw grid lines and soon the first corner is done, undone, and done again. Now to attempt a mirror image.
I see how much bias is leftover and cut it in half. My designs are now limited to the length of bias in my hands.
Aaah, I remember that I have a "cut and press" with grid lines marked on the pressing pad. (I am getting smarter finally)

Please forgive me my little imperfections Sandy. This really was a stretch farther out than I thought when I started it. All I could see though for this piece was this border so I hope it is good enough. And mostly I am really, really sorry that this is November.

hi linda.. i love the way you did the border on my rr. it couldn't have been more perfect. i'm ready to do another one. i can't thank you enough for all the work you and the other ladies did and it was worth waiting on. although the gift you sent wasn't necessary i love it and will trasure it always. big hugs, sandy.
ReplyDeleteLinda, it looks super. Your border tones down my wild geese while still standing up for itself. That was some job! You worked it out beautifully.
ReplyDeleteJay